How can you install Home Assistant in a TrueNAS virtual machine?
This method works for any NAS system that supports virtualization, allowing your NAS to be more than just storage.
Download the Home Assistant Disk Image
Download it here:
https://www.home-assistant.io/installation/linux/
(Be sure to download the KVM-compatible .qcow2 image.)
Upload the Extracted .qcow2 File to Your NAS
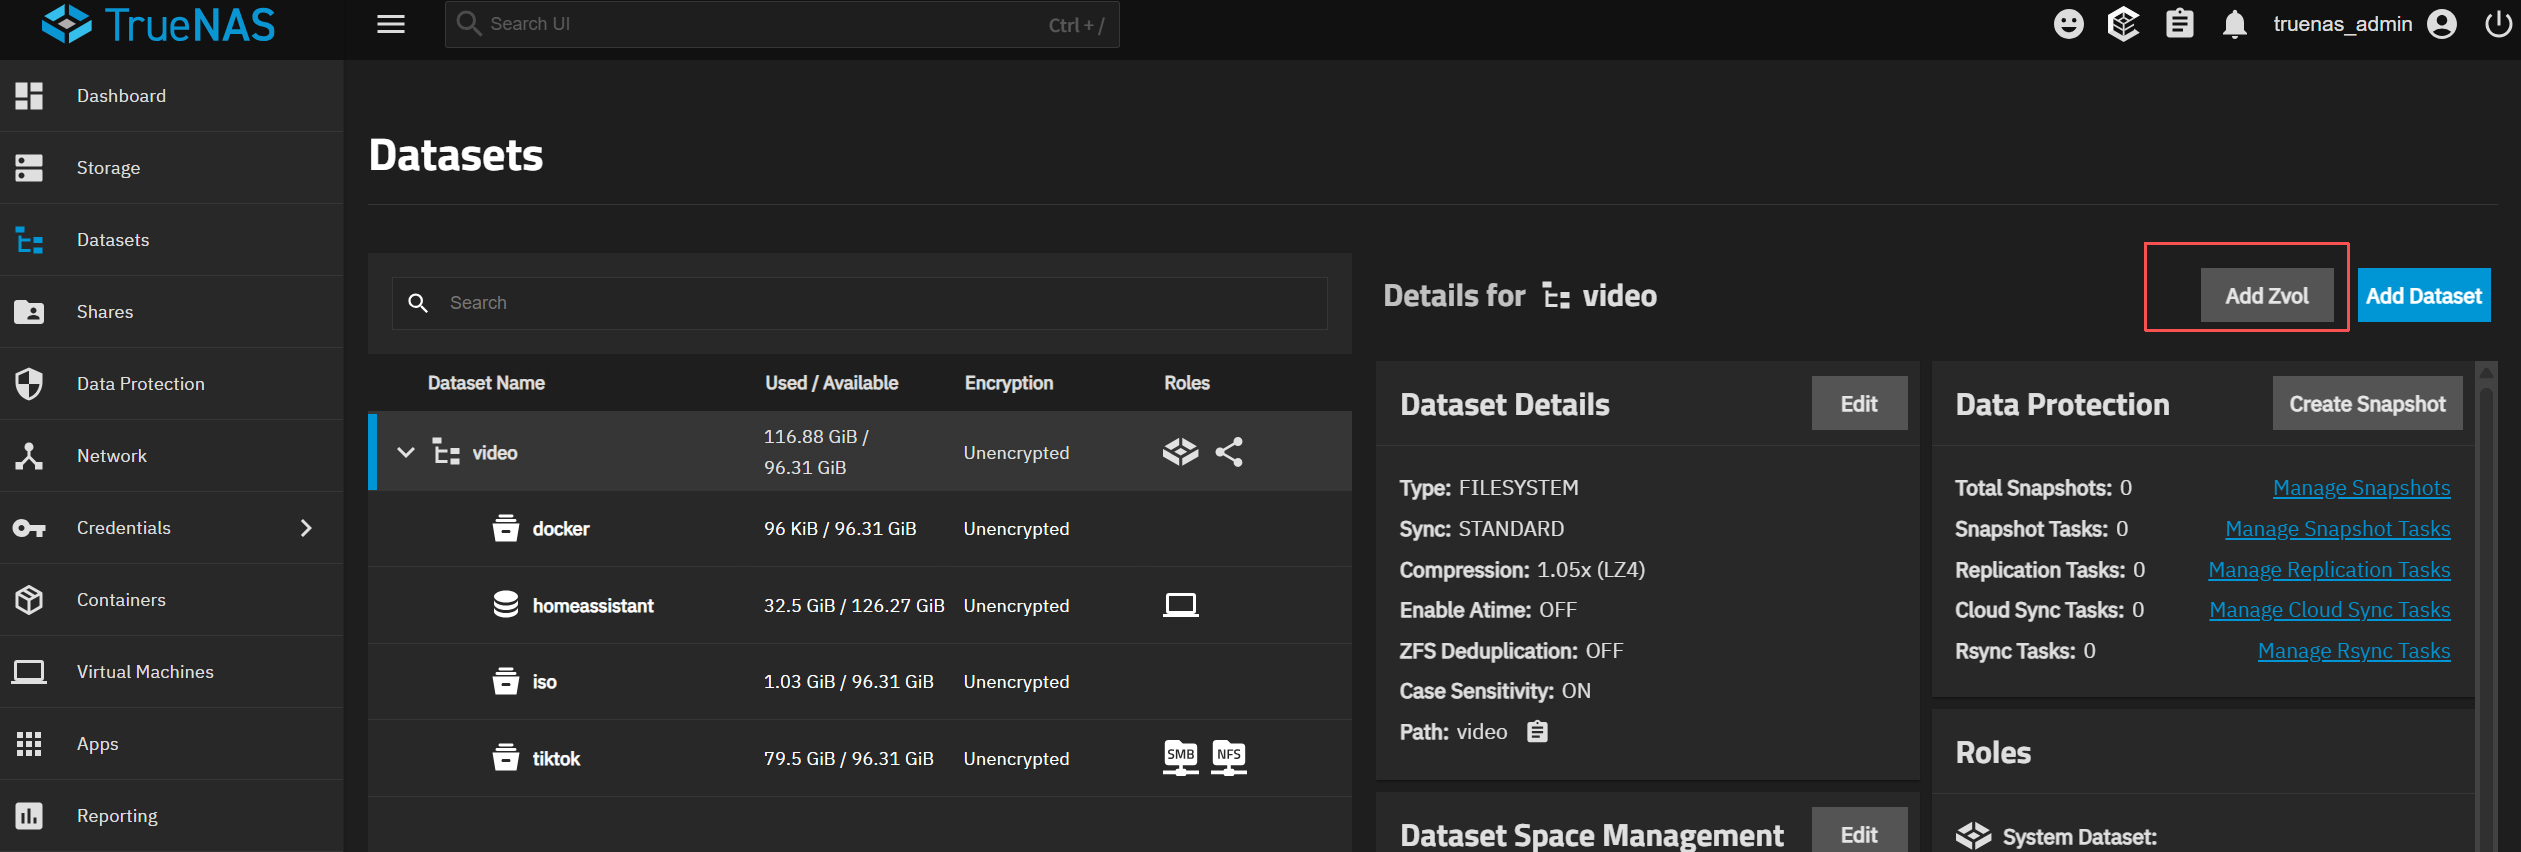
Create a Zvol
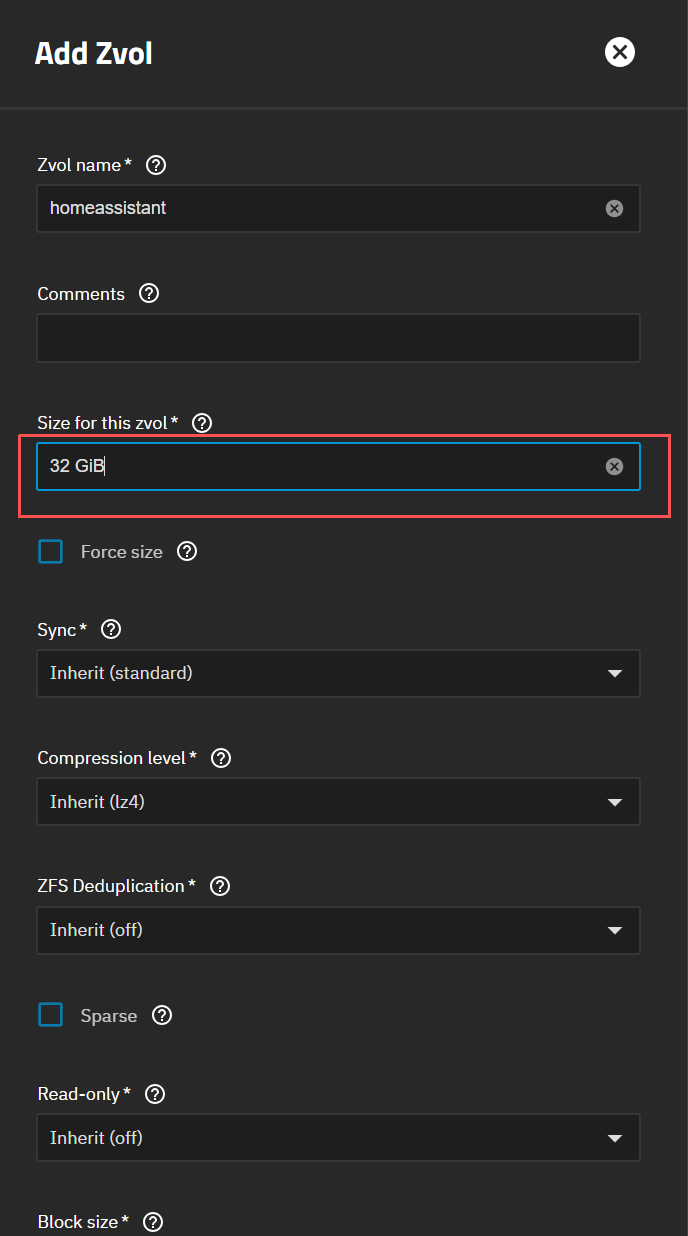
Create a Zvol to store the Home Assistant disk image.
Set the disk size according to Home Assistant’s minimum system requirements.
Restore the Disk Image
Open the TrueNAS shell, navigate to the directory where the image is stored, and run the following command to restore the image to the Zvol.
Note: Use the /dev/zvol/ prefix.
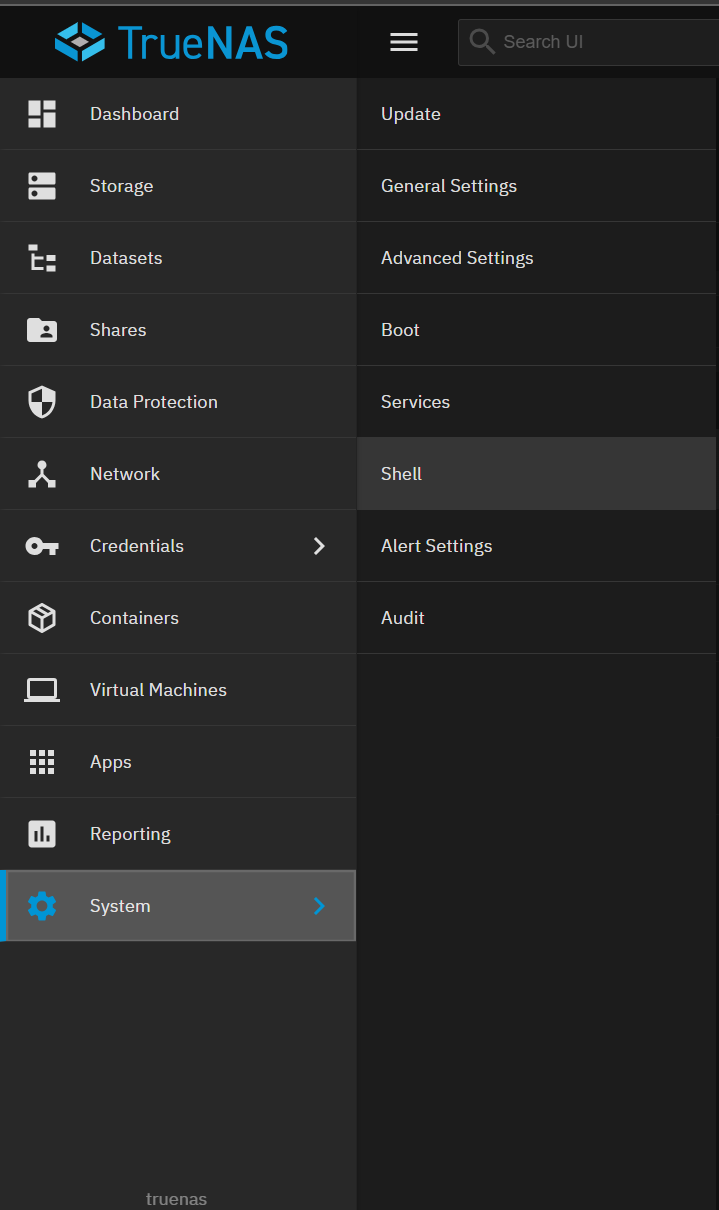
sudo qemu-img convert -O raw haos_ova-12.3.qcow2 /dev/zvol/homeassistant
Create the Virtual Machine
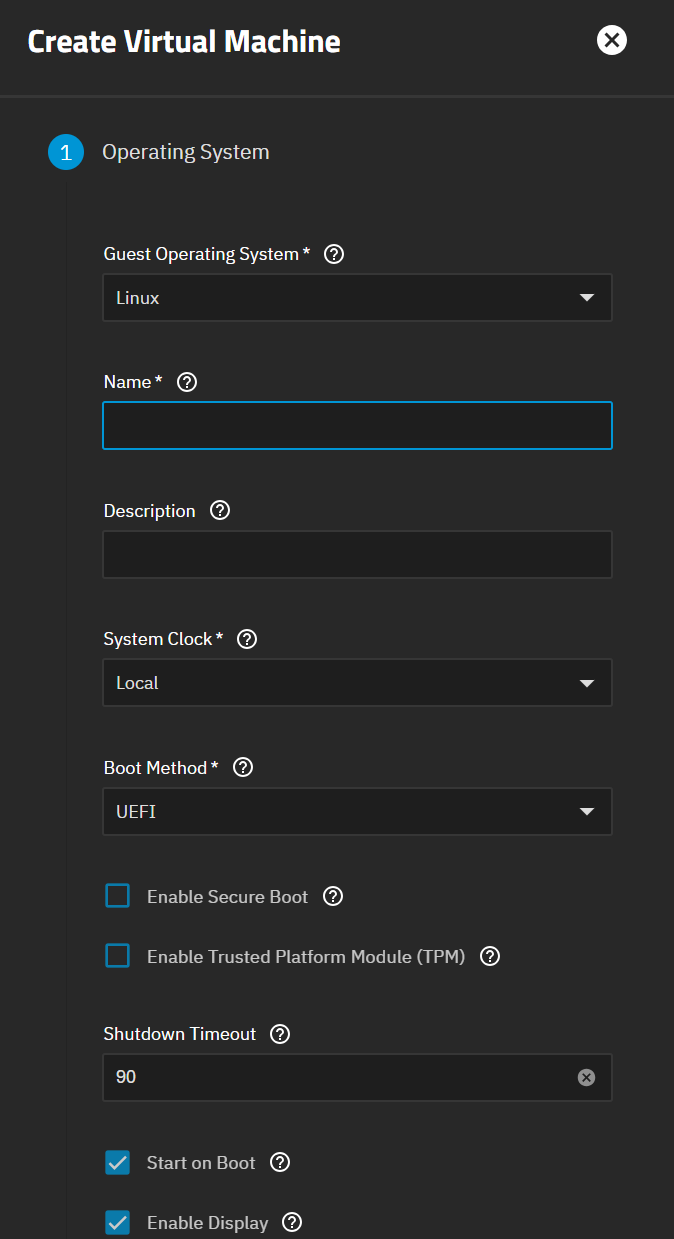
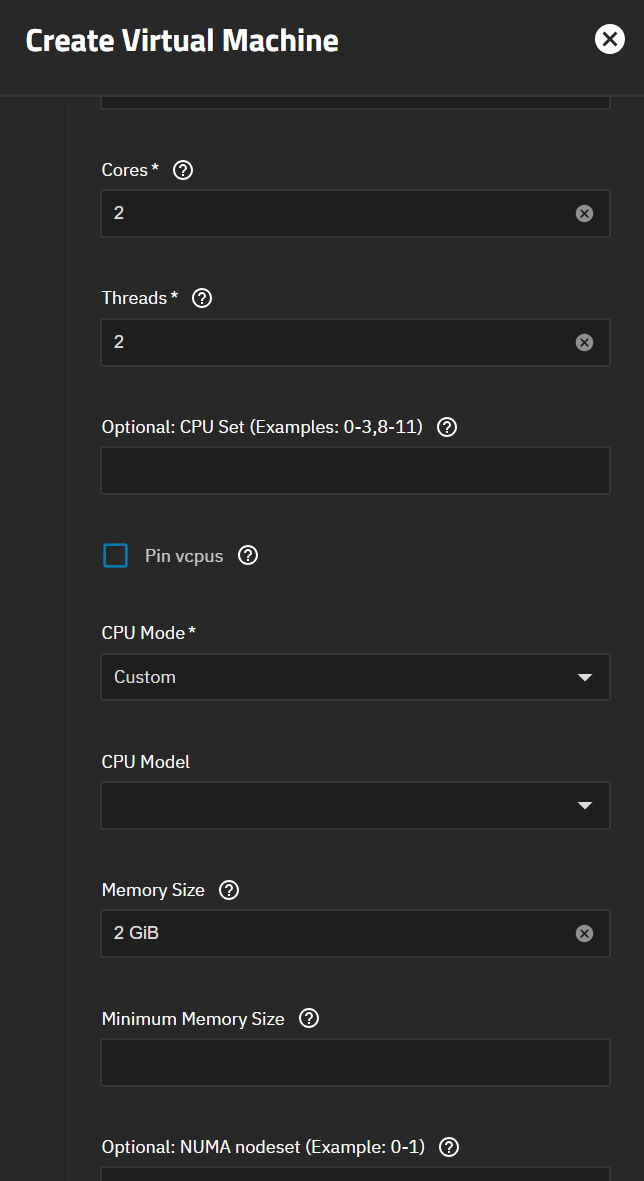
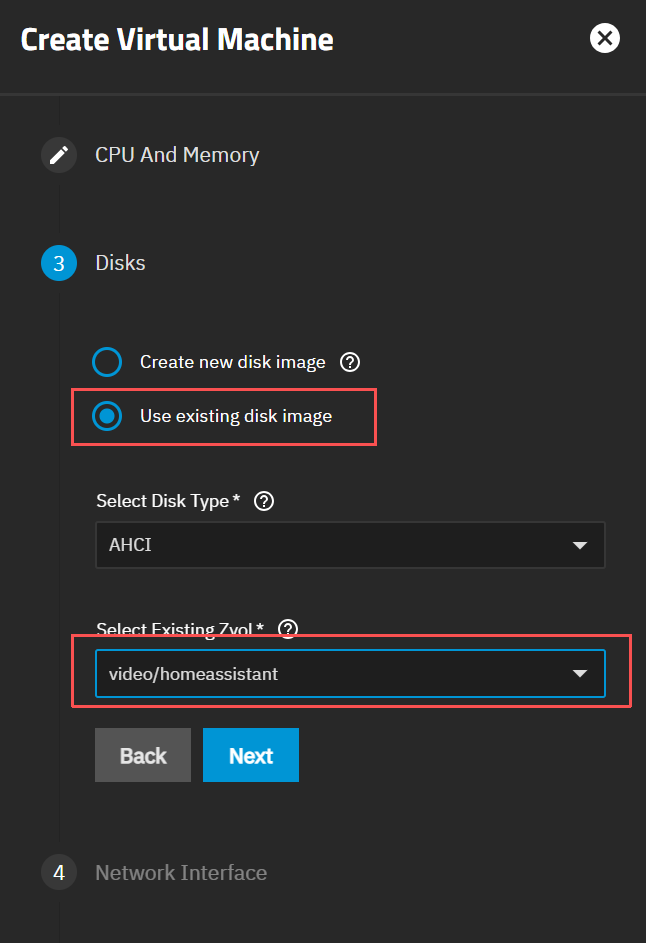
Create a new virtual machine, select Linux as the operating system, and choose Use existing disk image for the storage option.
Configure the rest of the settings to meet Home Assistant’s minimum requirements.
Installation Complete
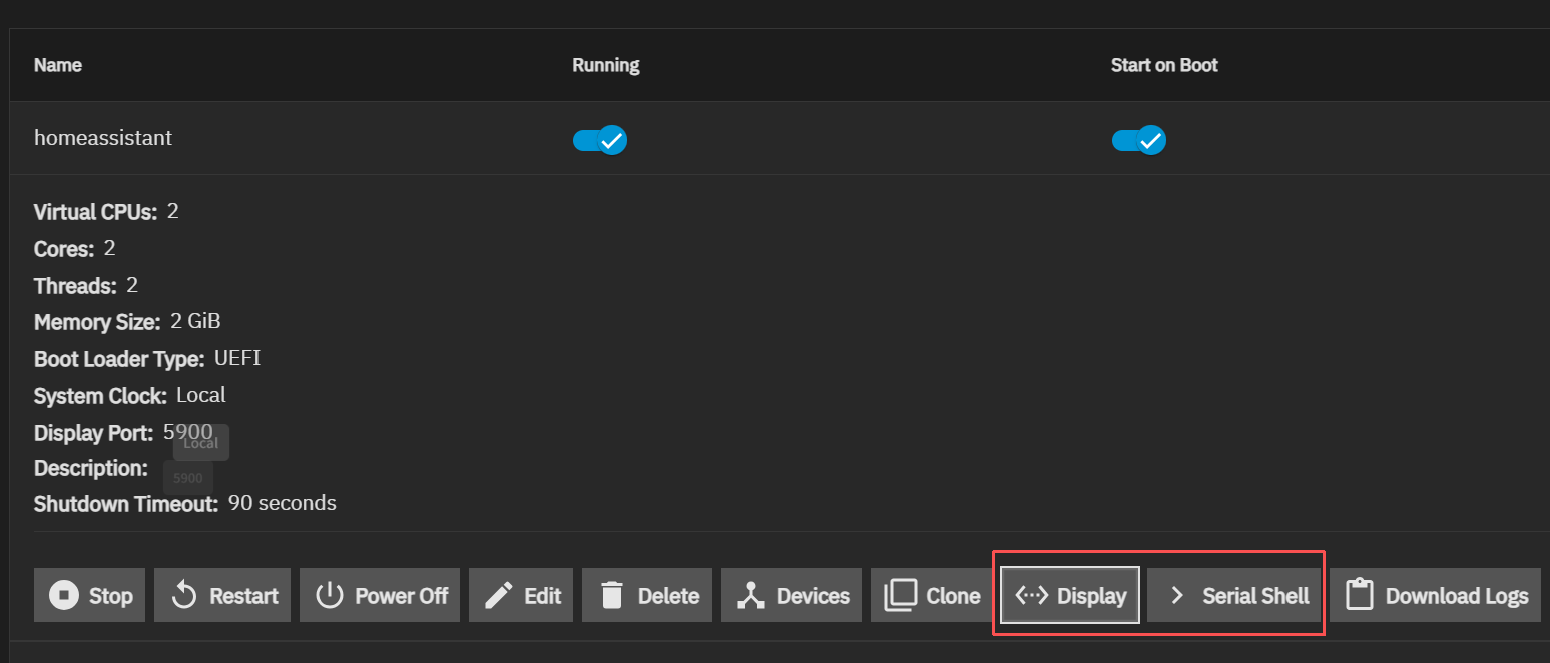
Start the VM and open the Display console to view the assigned IP.
You can also use the VM shell to modify system settings if needed.
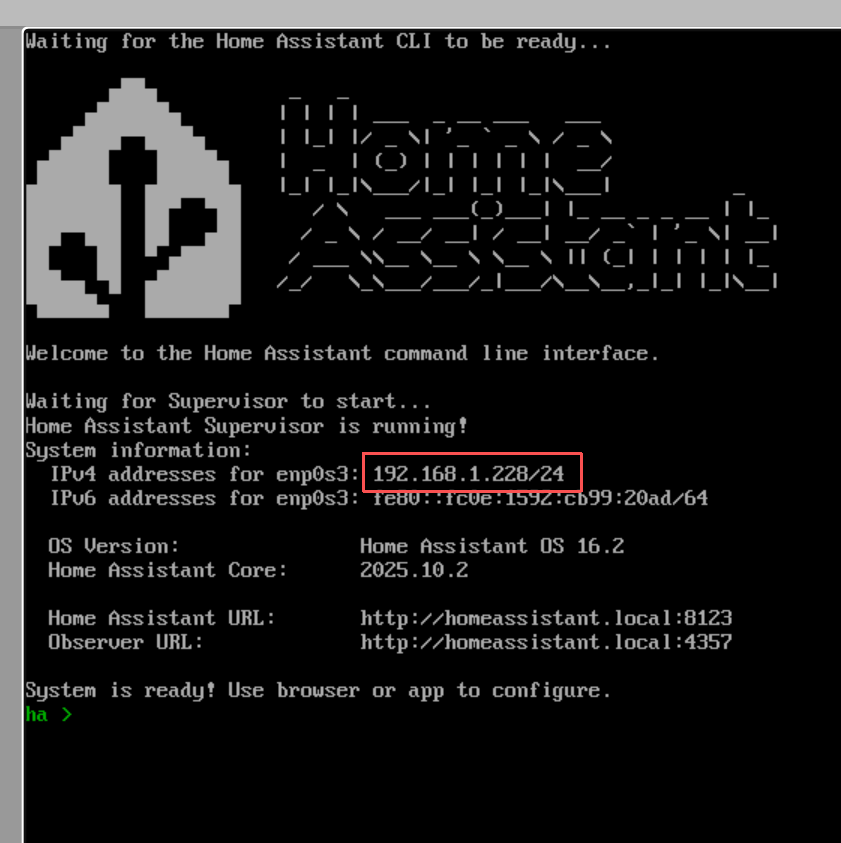
Now open the Home Assistant interface in your browser:
http://192.168.1.228:8123